In today's competitive interior design market, high-quality visuals are essential for presenting concepts to clients. This article walks through our three-step process for creating stunning interior design imagery using AI-assisted tools and traditional 3D software.
The Challenge
Traditional interior design visualization requires:
- Expensive photoshoots
- Sourcing and shipping physical furniture
- Professional photography equipment and space
- Extensive post-production work
Our approach eliminates these obstacles while producing professional-quality results.
Step 1: Creating 3D Models with TRELLIS
TRELLIS is an AI-powered 3D model generation tool that converts product images into detailed 3D assets.
The Process:
-
Collect product images
- Gather high-quality images of furniture pieces from multiple angles
- Ensure images have good lighting and clear silhouettes
- Remove backgrounds for best results
-
Upload to TRELLIS
- install TRELLIS or us HF space
- Upload your reference images
-
Generate and refine 3D models
- Allow TRELLIS to process the images (typically 1-2 minutes per item)
- Review the generated model for accuracy
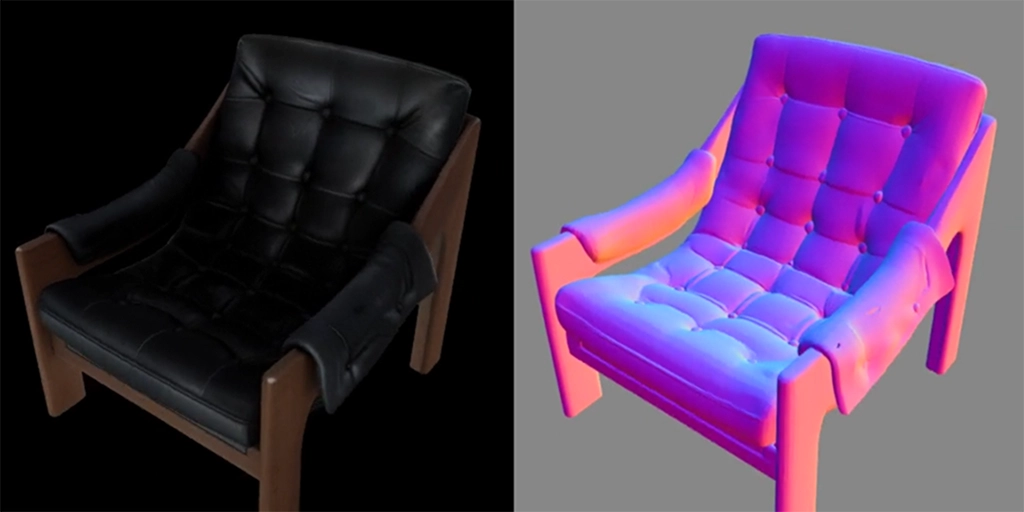 TRELLIS transforming a product image into a 3D model
Key Benefits:
- Reduces model creation time from days to minutes
- Maintains accurate proportions and textures
- Creates optimized models ready for raw rendering
- No advanced 3D modeling skills required
For our example interior, we generated models for:
- Leather armchair with metal frame
- Wooden lounge chair with green upholstery
- Sheepskin accent chair
- Decorative side tables
- Antique-inspired lamps
- Decorative wall mount
Step 2: Rendering in 3D Software
Once our models are created, we import them into 3D rendering software to create the base composition.
The Process:
-
Scene setup
- Import the TRELLIS-generated models
- Create a simple environment (we used concrete walls and wooden flooring)
- Arrange furniture to create a balanced composition
-
Lighting setup
- Add key lighting to highlight focal furniture pieces
- Create fill lights to reduce harsh shadows
- Add accent lighting for depth and mood
-
Camera and composition
- Set up multiple camera angles
- Frame the scene to emphasize the furniture arrangement
- Create variations with different perspectives
-
Basic render settings
- Use medium quality settings for this phase
- Focus on correct shadows and reflections
- Don't worry about perfect materials yet
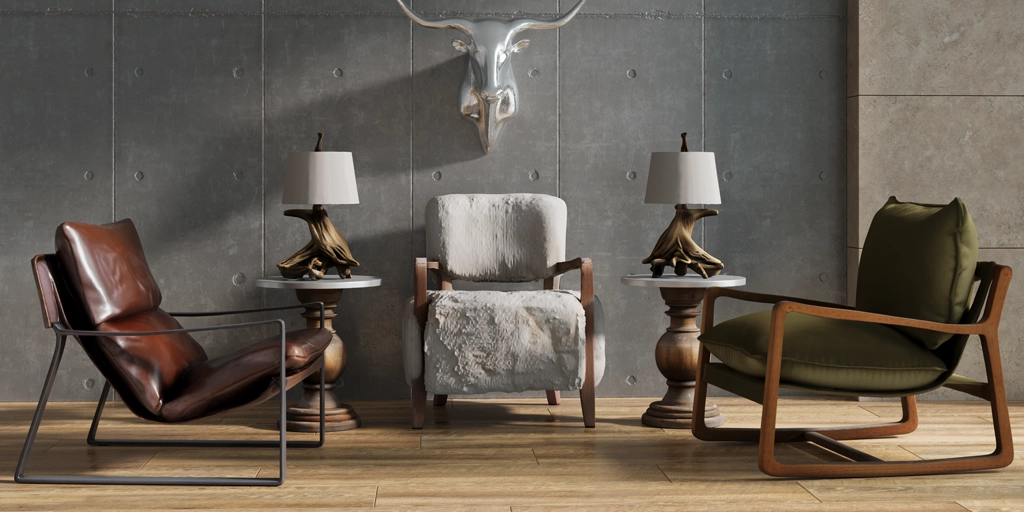
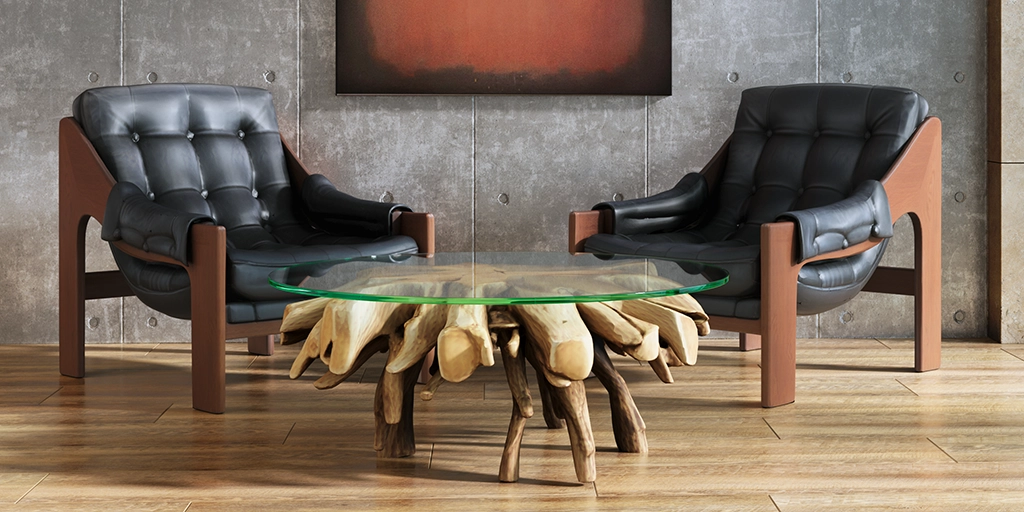 Raw render from 3D software before post-processing
Software Options:
- Blender (free, open-source)
- Cinema 4D
- 3ds Max
- Maya
For our project, we used Blender with Cycles renderer for its balance of quality and speed.
Step 3: Post-Processing with ComfyUI
The final step transforms good renders into great ones using ComfyUI, an open-source node-based interface for AI image processing.
Our Custom Workflow:
-
Preparation
- Export renders from 3D software at high resolution (minimum 2K)
- Save in a lossless format (PNG or TIFF)
- Create multiple variations to test in ComfyUI
-
ComfyUI setup
- Use ComfyUI with masking, ip-adapter tools
- Load your rendered image as the input
- Adjust parameters based on the specific image
-
Material enhancement
- Use another or same workflow for material improvement
- Enhance fabric details and leather appearances
- Improve wood grain and metal reflections
-
Final touches
- Subtle color grading to create mood
- Minor composition adjustments if needed
- Optional: Add atmospheric elements (dust particles, light rays)
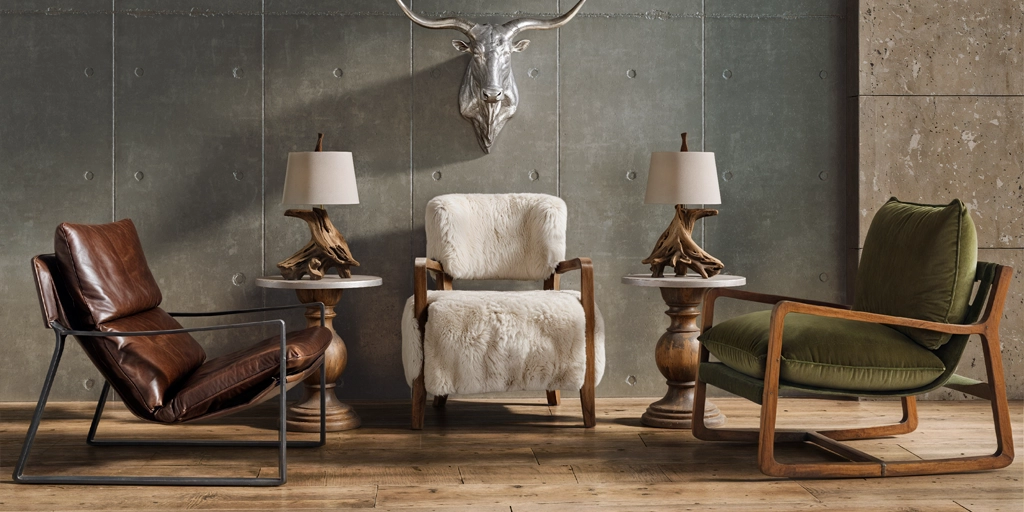
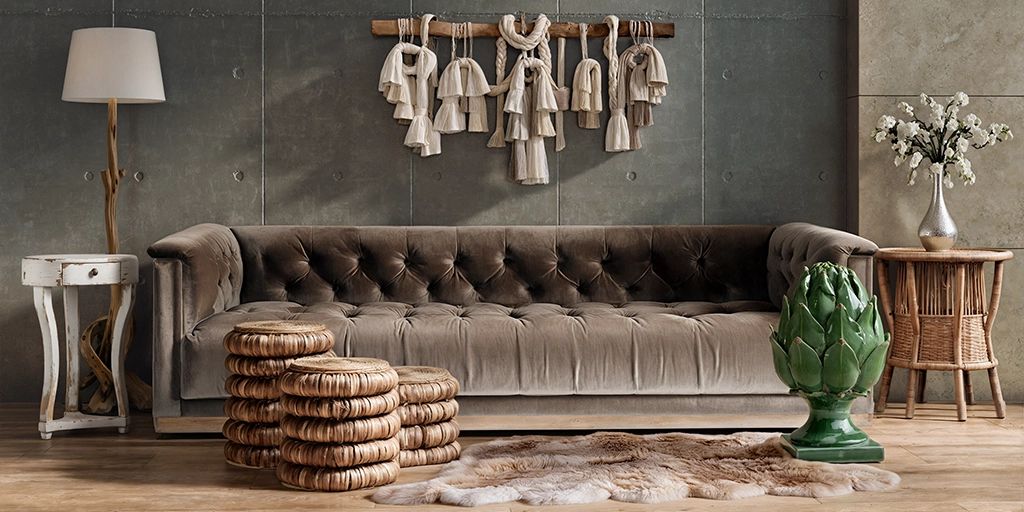
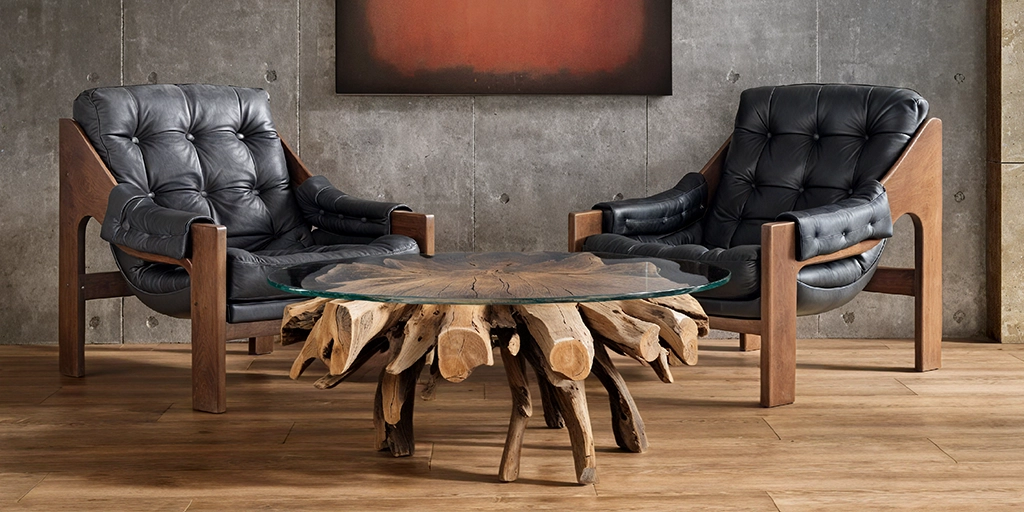 Final result after ComfyUI post-processing
Workflow Benefits:
- Maintains the accuracy of the 3D models
- Enhances material quality
- Creates a cohesive, professional look
- Allows rapid iterations and style adjustments
Before and After Comparison
The difference between the raw render and the final processed image showcases the power of this workflow:
Notice the enhanced texture details, improved lighting, and overall mood enhancement in the final image.
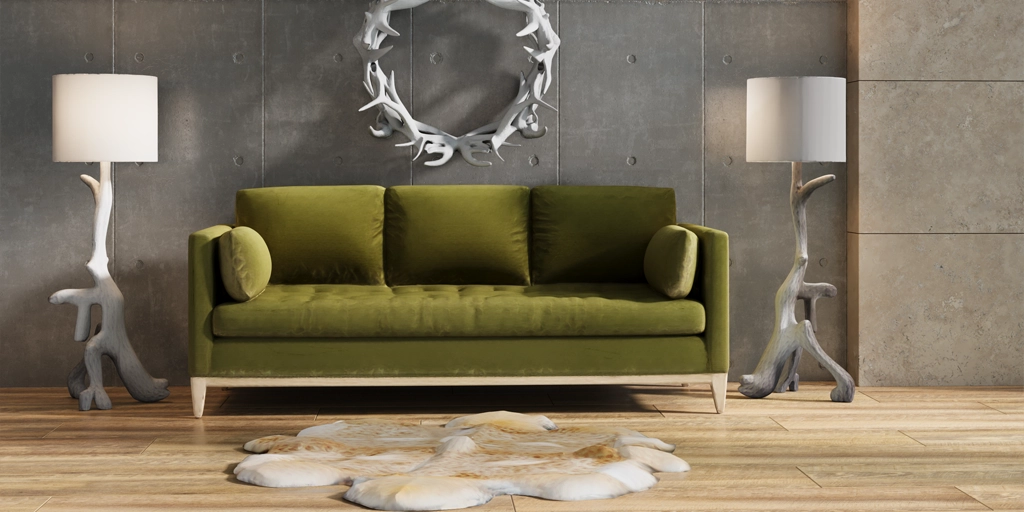
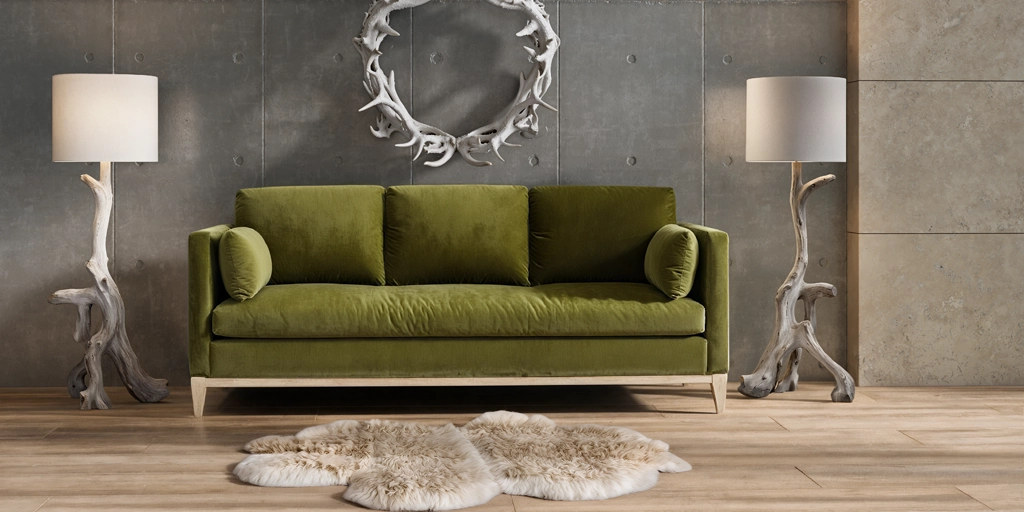
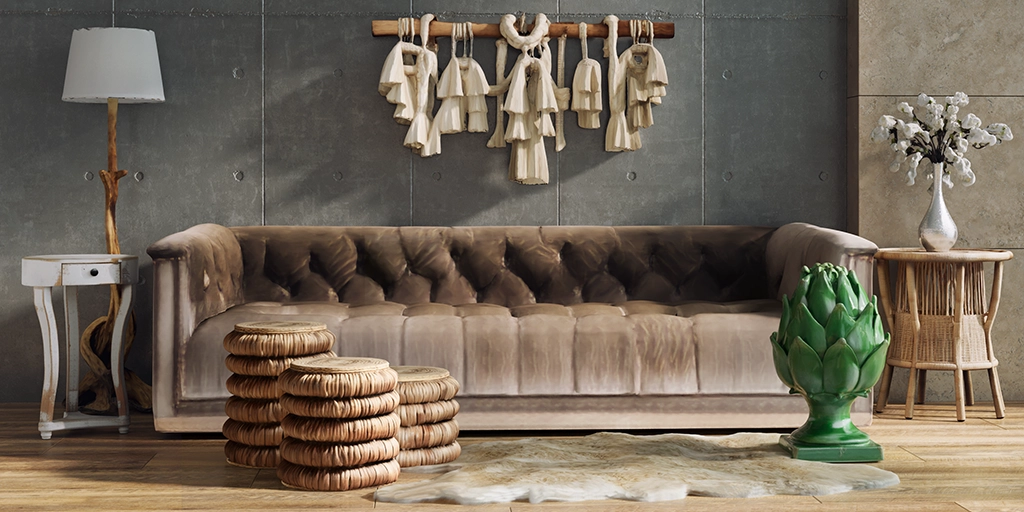
Below there are more examples of processed images:
Conclusion
This three-step process provides a powerful, efficient way to create professional interior design visuals without the expense and time investment of traditional methods. By combining TRELLIS for 3D model generation, standard 3D software for composition, and ComfyUI for finishing touches, designers can produce stunning imagery for client presentations, marketing materials, and online portfolios.
The workflow is also highly adaptable - once you've created your 3D models, you can easily place them in different environments, test various arrangements, and produce multiple design concepts at a fraction of the time and cost of traditional methods.
Note: This article is part of our ongoing series on leveraging AI tools for creative professionals. Check back next month as we explore using AI for textile and material design visualization.